
Bidding a roofing job incorrectly can cost you thousands of dollars. It has been estimated that 90 percent of roofers underbid their jobs, leaving profit on the table, or worse, losing money on completed work. Whether you run a small crew or manage multiple teams, learning to bid for roofing jobs with precision protects your bottom line and helps you grow a sustainable business.
This guide walks you through the essential steps of how to bid a roofing job, allowing you to stay competitive while maintaining healthy margins.
In this article:
- How to measure and calculate materials accurately
- Breaking down labor costs by crew size and roof complexity
- Understanding overhead and hidden costs
- Setting profitable pricing without overcharging
- Presenting professional proposals that close deals
How to Bid a Roofing Job
Essential Bidding Components at a Glance
Before diving into calculations, it is essential to understand the four pillars of every roofing bid. This table breaks down the typical cost ranges for a standard 2,500-square-foot residential roof replacement.
| Component | Cost Range | Typical % of Total | Key Variables |
|---|---|---|---|
| Materials | $5,500-$9,000 | 40-50% | Shingle type, underlayment, flashing, ventilation |
| Labor | $3,000-$5,500 | 25-35% | Crew size, roof pitch, complexity, layers |
| Overhead | $1,500-$2,500 | 10-15% | Insurance, fuel, equipment, office costs |
| Profit Margin | $2,000-$4,000 | 15-20% | Market positioning, competition, value-added services |
| Total Bid | $12,000-$21,000 | 100% | Sum of all components |
These percentages serve as industry benchmarks; however, your actual numbers will vary based on regional labor rates, material suppliers, and your business model.²
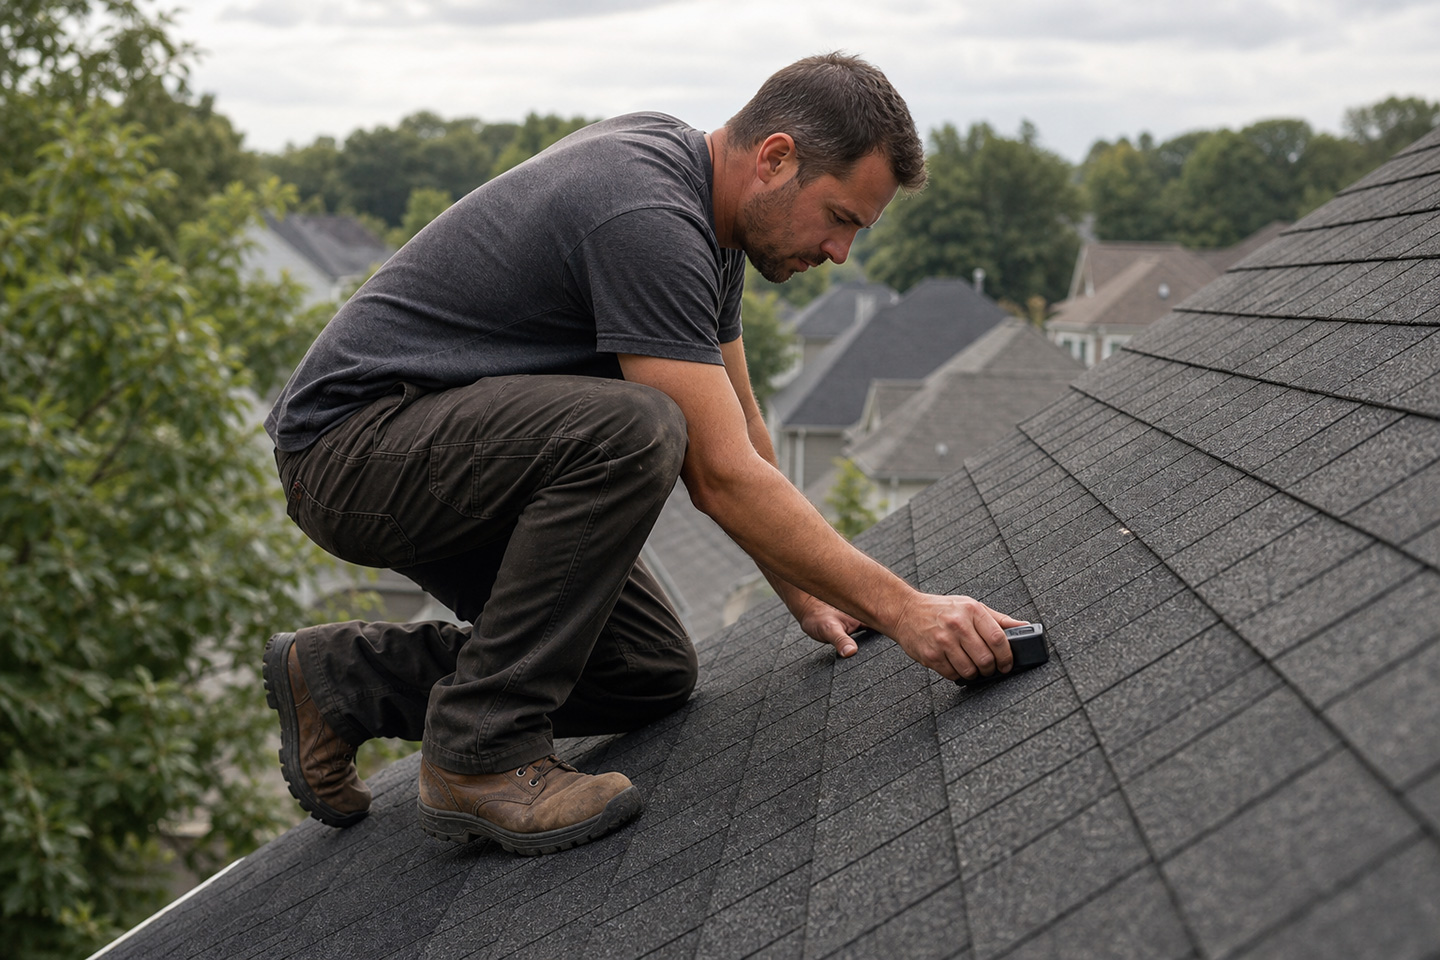
Step 1: Measure the Roof and Calculate Materials
Accurate measurements form the foundation of any reliable bid for roofing jobs. A single miscalculation can throw off your entire estimate.
Start by measuring the home’s footprint from the ground, then account for the roof pitch to determine the actual surface area. A 2,000 square foot home with a 5:12 pitch requires approximately 25 percent more materials than what would be required for a flat roof.³ These multipliers represent standard roof pitches:
- 3:12 pitch = multiply by 1.15
- 5:12 pitch = multiply by 1.24
- 8:12 pitch = multiply by 1.35
- 12:12 pitch = multiply by 1.70
Convert square footage to “squares” (100 square foot sections) to calculate shingles, with three bundles typically covering one square. Add 10 to 15 percent for waste, cuts, and starter strips.⁴
Beyond shingles, calculate underlayment based on total coverage area, ridge cap shingles for hips and ridges (measured in linear feet), flashing for valleys and penetrations, vents based on attic square footage, and nails at approximately 240 per square for standard four-nail installation⁵.
Modern field service platforms, such as Zuper, integrate with measurement tools like Hover and GAF QuickMeasure to pull precise aerial measurements directly into your estimating system, eliminating manual calculation errors and speeding up the bidding process.
Step 2: Calculate Labor Costs
Labor represents your second-largest expense and varies significantly based on roof characteristics and crew efficiency.
For straightforward tear-off and replacement on a walkable roof, experienced crews typically complete 30 to 35 squares per day. Multiply crew size by their hourly rate and estimated days to completion. A three-person crew earning $25 per hour, working two days, incurs a labor cost of $1,200.6
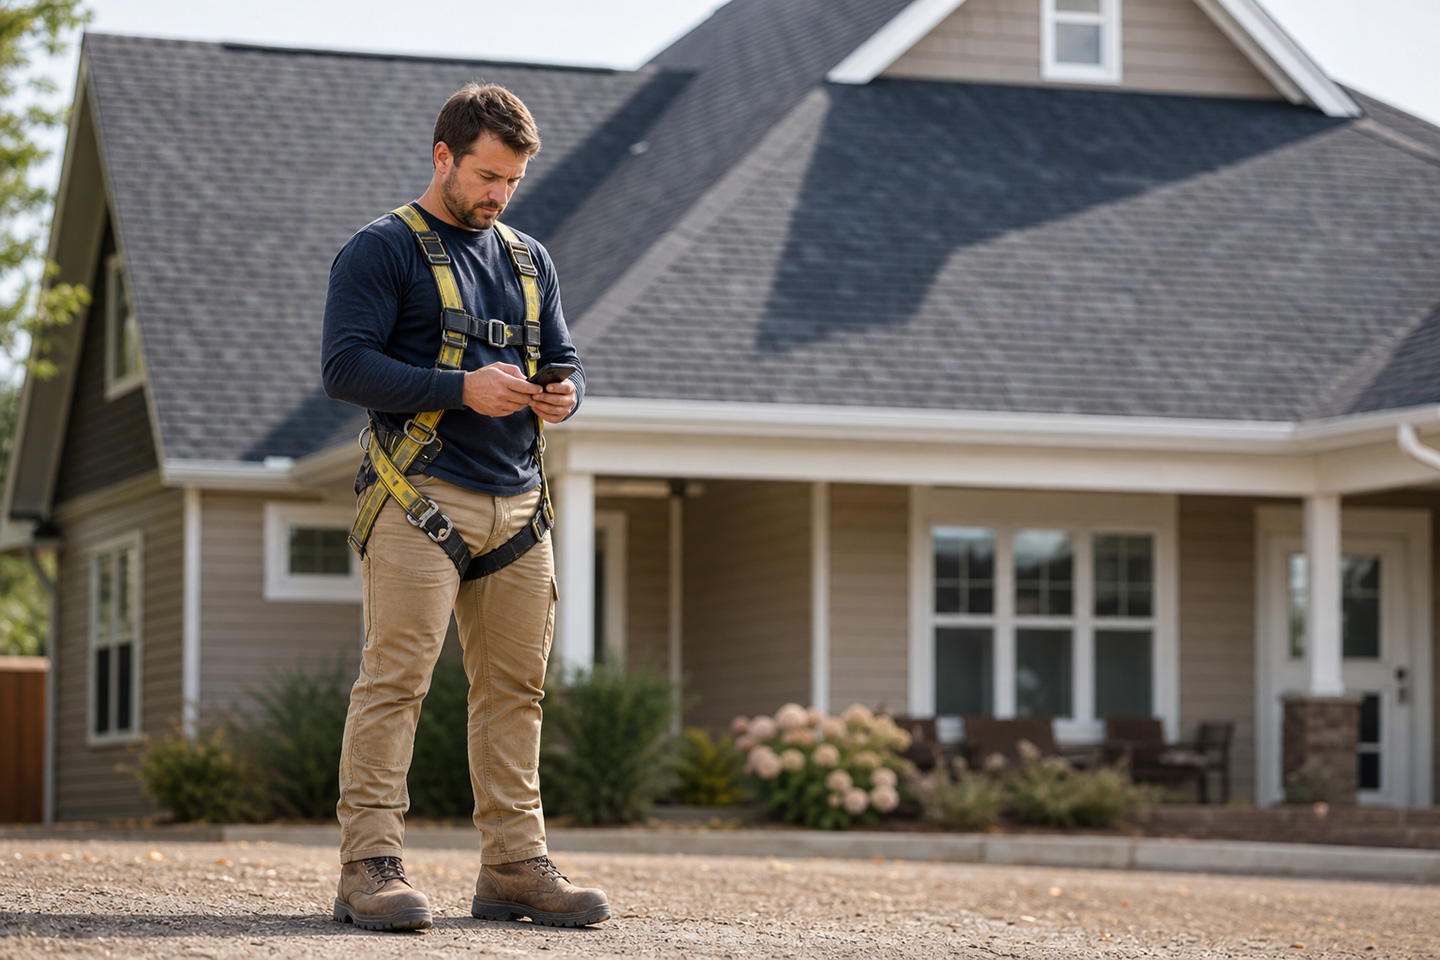
Several factors increase labor time and costs. Steep pitches (above 7:12) slow work considerably and require additional safety equipment. Multiple roof layers demand more tear-off time. Complex designs with valleys, dormers, and multiple planes add hours. Restricted access in tight urban spaces limits the options for equipment. Weather delays can stretch timelines and add costs.7
If you pay subcontractors by the square foot, rates typically range from $150 to $300 per square foot, depending on the region and the complexity of the job.⁸ Whatever your payment structure, build realistic time estimates and never underestimate the impact of roof complexity on labor hours.
Simple vs. Complex Roof Labor Cost Analysis
| Factor | Simple Ranch Roof | Complex Two-Story Roof |
|---|---|---|
| Roof Size | 25 squares (2,500 sq ft) | 25 squares (2,500 sq ft) |
| Roof Pitch | 4:12 (walkable) | 9:12 (steep, requires harnesses) |
| Design Complexity | Single plane, rectangular | Multiple planes, 4 valleys, 3 dormers |
| Layers to Remove | 1 layer of asphalt shingles | 2 layers of asphalt shingles |
| Access | Wide driveway, open yard | Narrow alley, limited staging area |
| Height | Single story (10-12 feet) | Two stories (20-25 feet) |
| Special Features | 2 standard vents | 6 vents, 2 skylights, 1 chimney |
| Crew Size | 3 workers | 4 workers |
| Time Required | 2 days | 4 days |
| Hours per Worker | 16 hours | 32 hours |
| Hourly Rate | $25/hour | $25/hour |
| Safety Equipment | Basic fall protection | Advanced harnesses, roof jacks, scaffolding |
| Total Labor Hours | 48 hours (3 workers x 16 hours) | 128 hours (4 workers x 32 hours) |
| Base Labor Cost | $1,200 | $3,200 |
| Safety Equipment/Extra | $0 | $400 (equipment rental, additional safety) |
| TOTAL LABOR COST | $1,200 | $3,600 |
| Cost per Square | $48 | $144 |
| Labor Cost Multiplier | 1.0x (baseline) | 3.0x (compared to simple) |
Step 3: Factor in Overhead Costs
Overhead includes every business expense not directly tied to a specific job. Many contractors overlook these costs when bidding, which erodes profit margins.
Calculate your total annual overhead, including office rent, utilities, insurance premiums, vehicle maintenance, fuel, equipment depreciation, marketing, administrative salaries, software subscriptions, and licensing fees. Divide your annual revenue by the total to determine your overhead percentage.9
For example, if your annual overhead totals $120,000 and you generate $600,000 in revenue, your overhead rate is 20 percent. Apply this percentage to every job’s direct costs (materials plus labor) to ensure overhead recovery.
A job with $8,000 in materials and $3,000 in labor has a total of $11,000 in direct costs. At 20 percent overhead, add $2,200 to cover your business expenses. Your break-even price is $13,200 before profit.¹⁰
Review overhead calculations quarterly, as costs like fuel and insurance fluctuate significantly and can impact your margins if rates become outdated.
Step 4: Set Your Price with Profit Margin
After calculating materials, labor, and overhead, add a profit margin to arrive at your final bid price. The roofing industry standard ranges from 10 to 20 percent, with an average of 15 percent.¹¹
Many contractors make a critical math error when calculating their profit margin. If you want a 10 percent profit on a $10,000 job, you must divide by 0.90, not simply add 10 percent. The correct formula for this calculation is:
- Total Costs ÷ (1 – Desired Profit Percentage) = Final Price.¹²
Using our previous example of $13,200 in costs, a 15 percent margin requires dividing by 0.85: $13,200 ÷ 0.85 = $15,529. This ensures that you actually achieve a 15 percent profit, rather than falling short of it.
Consider offering three pricing tiers with increasing values and margins: good, better, and best. Your good package might feature three-tab shingles at $15,500. The better package offers architectural shingles and enhanced warranties at $19,000. The best package includes designer shingles, premium ventilation, and extended service at $24,000.¹³
This approach serves budget-conscious customers while capturing higher margins from clients who value premium materials and service, expanding your addressable market without sacrificing profitability.
Three-Tier Roofing Package Comparison: 2,500 Square Foot Ranch Home Example
| Feature/Component | GOOD Package | BETTER Package | BEST Package |
|---|---|---|---|
| Shingle Type | 3-tab asphalt shingles | Architectural (dimensional) shingles | Designer architectural shingles |
| Shingle Brand | Standard grade | GAF Timberline HDZ or IKO Cambridge | GAF Grand Canyon or IKO Dynasty |
| Shingle Warranty | 35 years limited | 30 years limited + 10-year algae protection | Lifetime limited + 25-year algae protection |
| Wind Rating | 60 mph | 130 mph | 130-150 mph |
| Impact Resistance | Class 3 | Class 4 | Class 4 (UL 2218) |
| Underlayment | 15 lb felt paper | Synthetic underlayment | Premium synthetic ice & water shield on entire deck |
| Ice & Water Shield | Eaves and valleys only (1 row) | Eaves, valleys, and penetrations (2 rows) | Full roof deck coverage |
| Ventilation | Ridge vent only | Ridge vent + intake vents (balanced system) | Ridge vent + intake vents + solar attic fan |
| Starter Strips | Standard starter shingles | Premium starter strip system | Premium starter + hip and ridge cap |
| Flashing Material | Galvanized steel | Aluminum | Copper or premium aluminum |
| Gutter Protection | Not included | Basic gutter guards (optional add-on) | Premium gutter guard system included |
| Nail Type | Standard roofing nails | Corrosion-resistant nails | Stainless steel nails |
| Cleanup & Disposal | Standard cleanup, magnet sweep | Thorough cleanup, double magnet sweep | Premium cleanup with final inspection |
| Workmanship Warranty | 1 year | 5 years | 10 years |
| Inspection | Final inspection only | Mid-point + final inspection | Pre-work + mid-point + final + 1-year follow-up |
| Project Timeline | 2-3 days | 2-3 days | 3-4 days |
| Color Options | 3 standard colors | 8-12 colors | 15+ colors, including premium shades |
| Transferable Warranty | No | Yes (one time) | Yes (unlimited transfers) |
| TOTAL PACKAGE PRICE | $15,500 | $19,750 | $24,900 |
| Best For | Rental properties, flips, basic needs | Primary residence, quality-focused | Luxury homes, maximum protection |
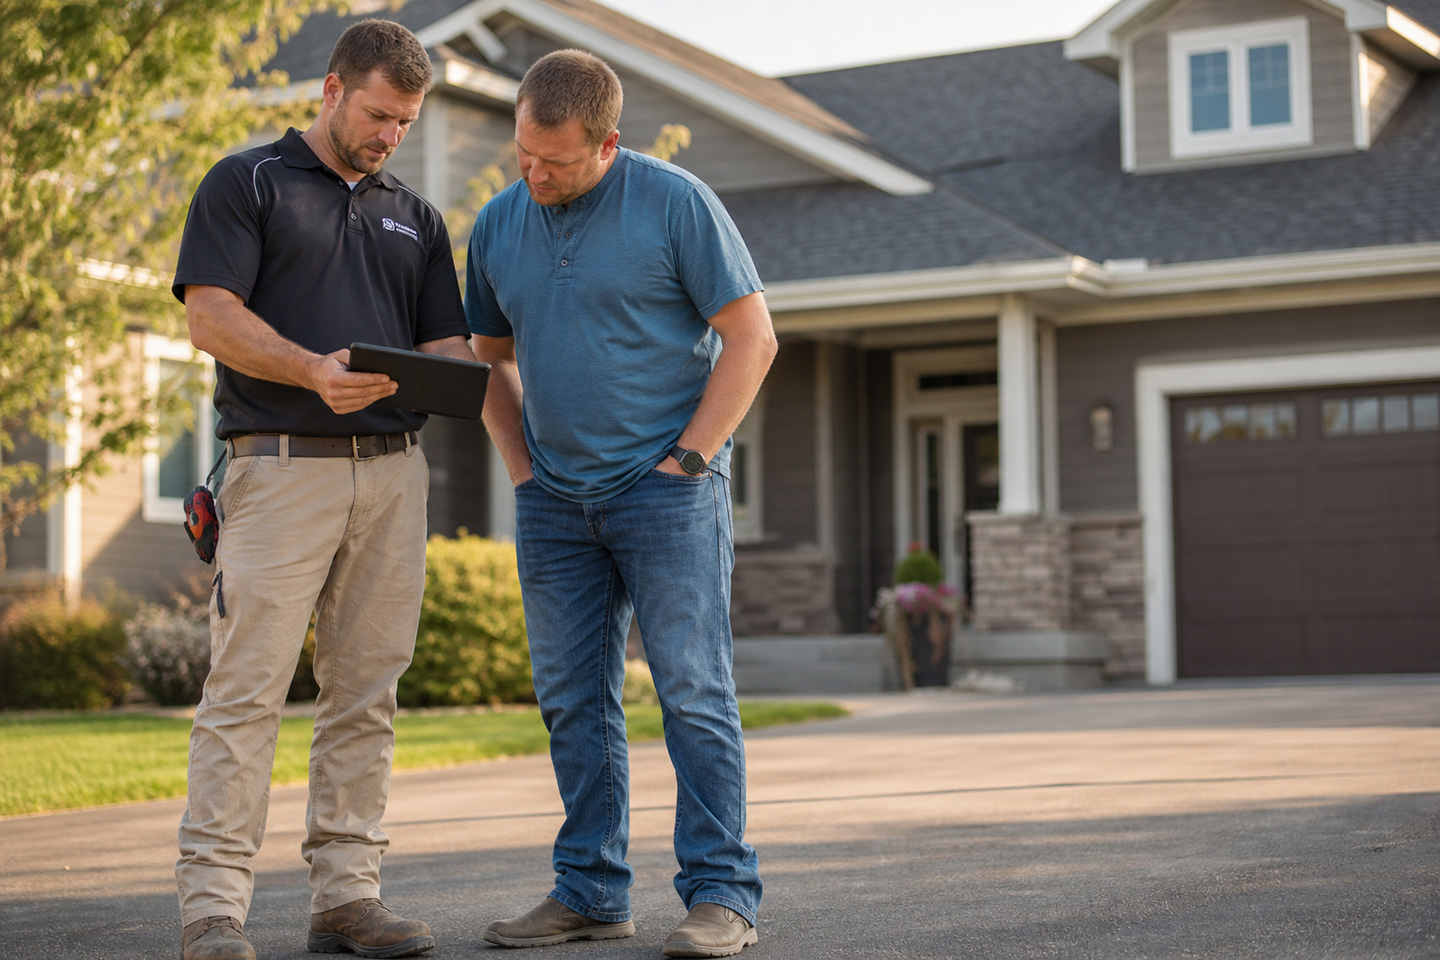
Present Professional Proposals That Win Business
Digital proposals created and presented on-site have been shown to significantly increase sales close rates. Field service management platforms like Zuper enable sales teams to generate polished, branded proposals from their mobile devices during the initial consultation, complete with photos, measurements, and e-signature capabilities. Homeowners can approve and pay deposits immediately, reducing decision friction and accelerating cash flow.
The faster you can move from the inspection to a signed proposal, the higher your conversion rates will be, and the less opportunity competitors will have to underbid you.
Conclusion
Learning how to bid a roofing job accurately requires attention to details, including materials, labor, overhead, and pricing strategy. By measuring precisely, thoroughly calculating all costs, and presenting professional proposals, you will protect your margins while delivering the value that customers will recognize and appreciate.
The most successful roofing contractors use technology to streamline their estimations, minimize errors, and close deals more efficiently. Discover how Zuper’s roofing management platform helps contractors create accurate bids, manage projects efficiently, and grow profitably.