
If you’ve been in the roofing industry long enough, you already know that the inspection phase is where the job is won or lost. A clean install only happens when the inspection is solid. Miss something up front, and the whole job can go sideways later on. Unexpected rot, hidden moisture, warped decking, faulty flashing, and insulation issues are just some of the surprises that have caught roofing crews off guard due to a flawed inspection.
Fortunately, with the right roofing inspection tools, you get accuracy, speed, and fewer callbacks. And now that AI and smarter imaging tools are quickly becoming the industry standard, inspections have become much more than just climbing a ladder and taking a few photos. Roofing inspections have become a real differentiator that homeowners actually notice.
Why the Right Inspection Tools Matter
Before you ever touch a shingle, the inspection determines how smoothly the rest of the project will go. Experienced contractors treat inspections like a blueprint, because:
- You catch damage early instead of during tear-off when it becomes a bigger mess.
- You reduce liability. Nothing ruins a day like missing something obvious and hearing about it later.
- You reduce the number of wasted trips and repeat visits.
- You show homeowners exactly what you’re seeing, which builds trust fast.
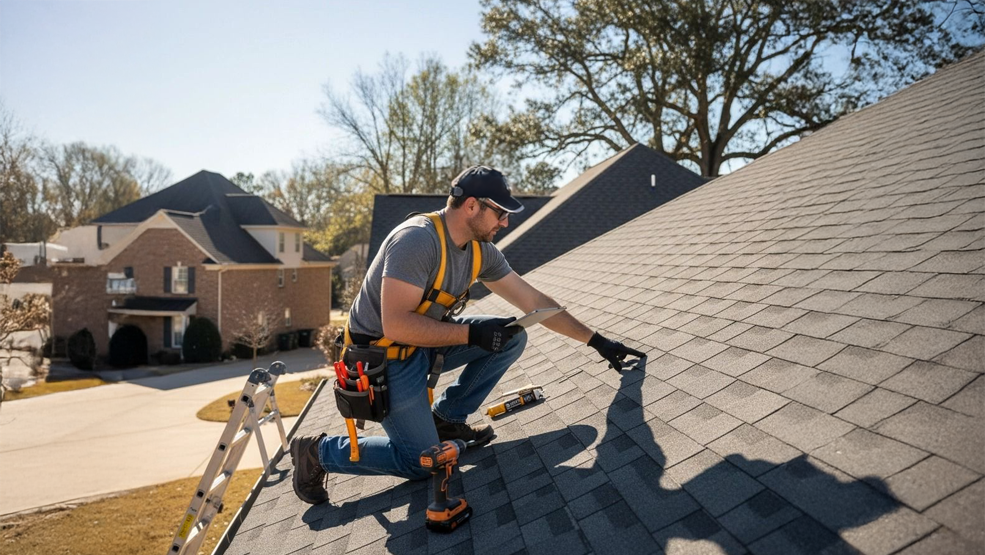
- You protect your team. Good tools reduce the need for risky climbs and overstepping on questionable surfaces.
- With the availability of AI roofing inspection tools, you can document and analyze damage with greater accuracy than old-school “eyeballing” ever allowed.
If you’ve ever tried explaining hail bruising to a skeptical homeowner without photos or thermal imaging, you already understand the value of better tools.
Core Inspection Tools Every Roofing Contractor Should Carry
Roofers don’t need fluff—they need the gear that actually helps them do the job cleanly and safely. Here’s what belongs in a real roof inspection kit.
Safety and Access Equipment
Before you do anything else, ensure the safety of those on the roof. Roofing tools won’t matter if you can’t get onto the roof safely.
- Quality ladder with a stabilizer: Prevent shifting on uneven driveways or turf.
- Harness, anchors, non-slip boots, gloves, and a helmet: If you work on steep slopes or older roofs, this isn’t optional. The OSHA roofing safety guidelines clearly spell out this requirement.
- Binoculars or telescopic camera pole: Sometimes the roof condition already tells you, “Do not step here yet.” Remote viewing saves you from taking unnecessary risks.
Measurement and Visual Tools
Every experienced roofer has their preferred go-to set of tools:
- Tape measure and speed square: Quick geometry checks for slopes, runs, and angles.
- Utility knife and small pry bar: For lifting shingles or probing flashing without tearing things apart.
- Flashlight or inspection light: Essential for checking the attic or improving under-deck visibility.
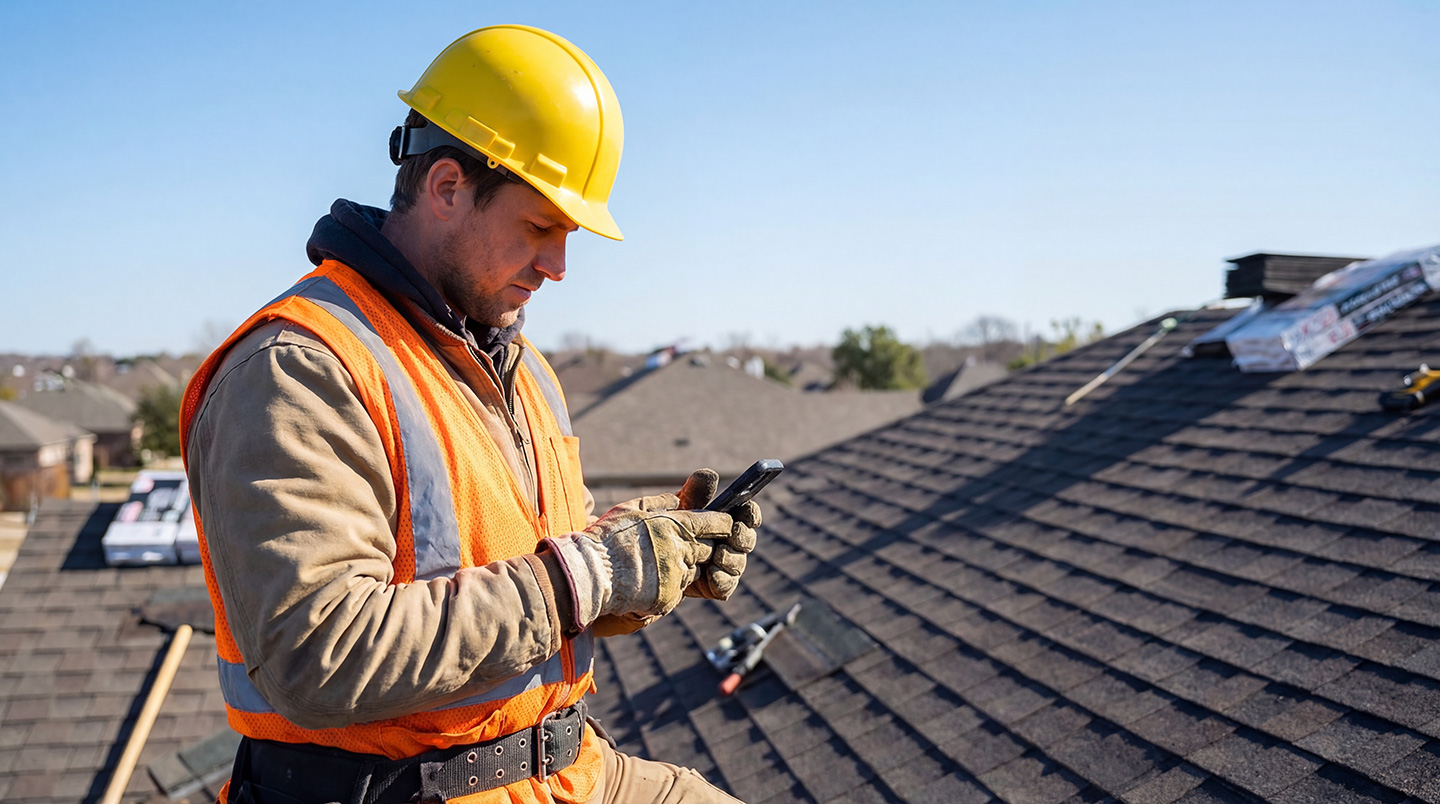
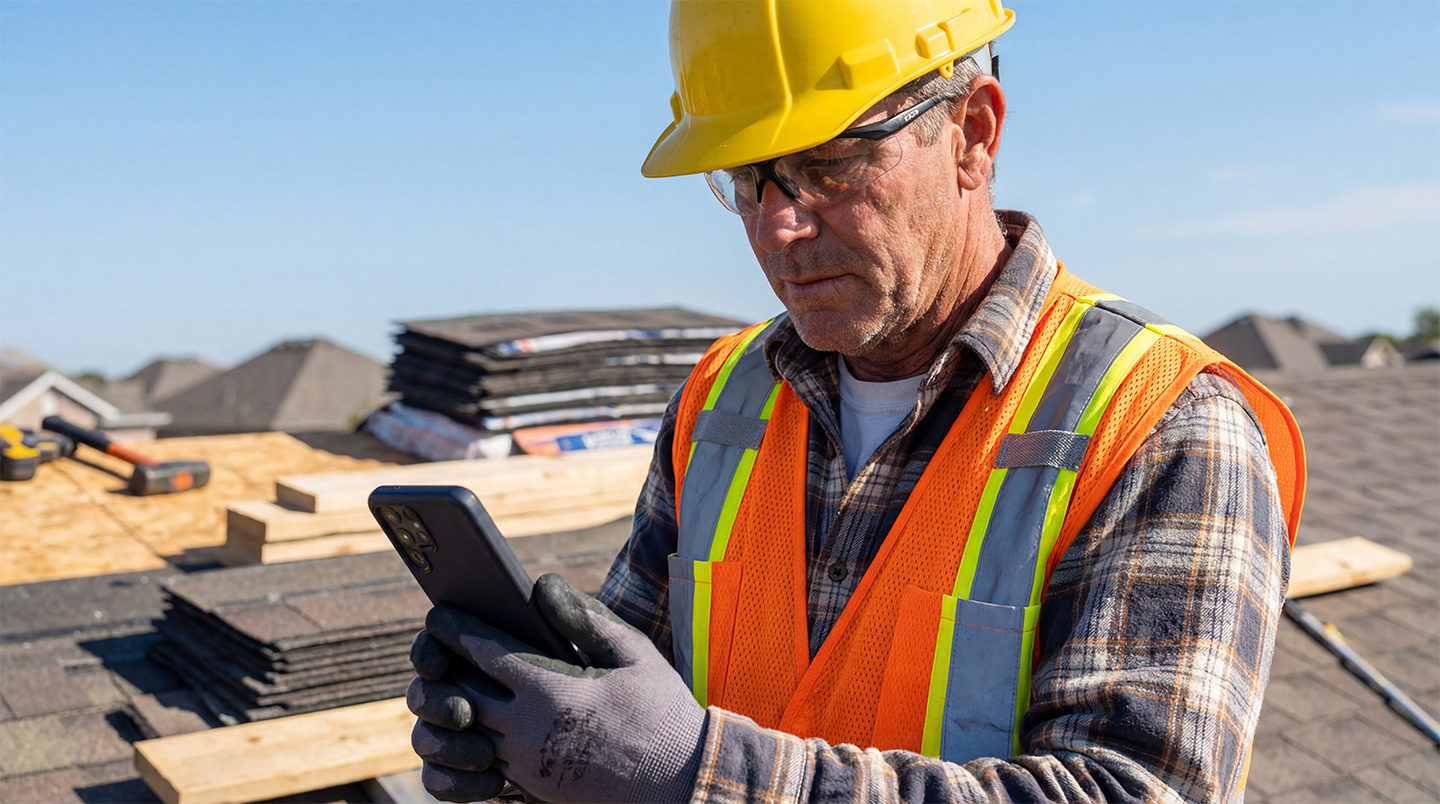
- High-resolution camera or smartphone: This is a crucial tool for documentation. Sharp and clear photos protect you when homeowners forget to disclose pre-existing conditions. Publications like Roofing Contractor Magazine emphasize the importance of consistent photo documentation as a standard best practice.
Diagnostic and Advanced Tools
Here’s where roofers separate themselves from “the guy with a ladder” operators.
- Moisture meter: Hidden moisture tells you far more than the surface ever will.
- Thermal imaging camera: This may sound too fancy until you start to use one. It reveals ventilation issues, wet insulation, leak paths, and hidden damage in seconds.
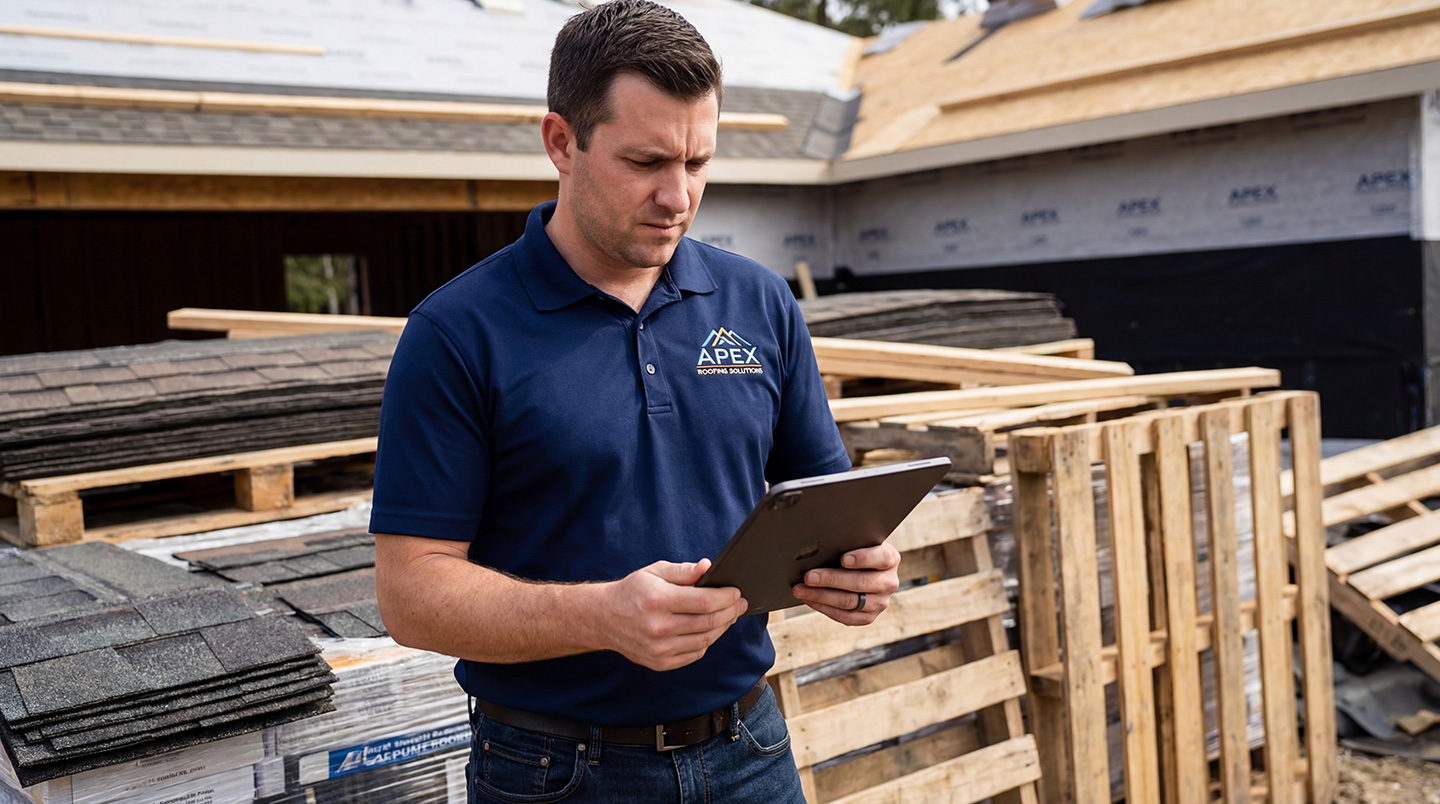
- Contractor inspection apps: Whether it’s mapping damage, generating reports, or syncing images, digital tools streamline the process. This is the part that too many contractors skip, and it can cost them the job.
Emerging Technologies: AI and Smart Inspection
The newest shift in roofing inspections is AI-driven analysis. Platforms now evaluate standard roof photos and detect issues like:
- Missing shingles
- Hail bruising
- Wind uplift
- Ponding water
- Flashing issues
- Debris or granular loss
AI roof inspection tools don’t replace craftsmanship—they give you consistency. These tools help your team deliver the same thorough inspection, whether the inspector is a 20-year veteran or a new hire.
Contractor benefits:
- Faster inspections
- Better accuracy
- More consistent documentation
- Easier homeowner communication
Homeowner benefits:
- Clearer photos and visual reports
- Fewer surprises on pricing
- Confidence that you’re not guessing
Just make sure you choose a tool that fits your workflow and integrates with your reporting process instead of adding another step.
Recommended Roofing Inspection Tools Kit Table
| Tool Category | Specific Tool | Purpose | Notes | |
| ✅ | Safety & Access | Ladder with stabilizer | Safe roof access | Match height to structure |
| ✅ | Safety & Access | Personal Protective Equipment | Keep the inspector safe | Non-negotiable |
| ✅ | Measurement & Visual | Tape measure, speed square | Measure slopes and geometry | Leads to accurate estimates |
| ✅ | Measurement & Visual | Camera or smartphone | Document condition | High resolution preferred |
| ✅ | Diagnostic Tools | Moisture meter | Detect hidden dampness | Calibrate regularly |
| ✅ | Diagnostic Tools | Thermal camera | Identify ventilation or leak issues | Great for heat signatures |
| ✅ | Advanced Imaging | Telescopic camera pole | Reach areas safely | Avoid unsafe walking |
| ✅ | Software / AI | AI roof inspection tools | Automated defect detection | Choose tools that fit your workflow |
Adding visuals here (icons or real photos of each tool) helps contractors show their crews what “standard” should look like.
How to Present the Inspection to the Homeowner for a Flawless Experience
The inspection itself matters, but how you present it matters just as much.
- Show homeowners the tools you’re using. Thermal cameras and telescopic poles are impressive to people.
- Give them photo proof for every issue. Before and after is even better.
- Deliver a clear, visually organized inspection report.
- Explain what comes next: estimate, project timeline, material choices.
- Send a digital copy for their records. This builds transparency and trust.
Homeowners love data because it feels honest. When they see AI-tagged images and thermal scans, they stop questioning your assessment.
Pro Tips for Contractors When Equipping Your Inspection Toolkit
- Keep diagnostic tools calibrated. Thermal cameras and moisture meters will drift over time.
- Train your team on how to take consistent photos and use the inspection software.
- Stay current with roofing inspection technology. Early adopters win more credibility and efficiency.
- Use a roof inspection checklist so nothing gets missed.
- Standardize photo habits, including angles, lighting, labeling, and geotags.
- Budget annually for technology upgrades. The ROI shows up in fewer callbacks and faster estimating.
- Safety stays first! Tools help, but good judgment wins.
Conclusion
A thorough inspection is more than a mere step in a larger process. It is the crucial first step, and it sets the tone for the whole job. With the right mixture of traditional tools and modern roofing inspection tools technology, you can deliver clearer reports, safer workflows, tighter estimates, and a smoother experience for the homeowner.
Roofers who invest in solid contractor roof inspection equipment and AI-driven tools aren’t just checking boxes. They’re raising the bar on accuracy and professionalism.
Now’s a good time to audit your inspection kit and upgrade where it counts.