
Natural and man-made disasters can happen at any time—and when they do, as a disaster restoration service provider, it is your job to make sure you are prepared to handle the restoration projects you will inevitably face. It is essential to keep your disaster recovery plans up-to-date and ready for any type of emergency. But it is not just about having a plan in place. It is also essential to be prepared for the unexpected.
Keeping your disaster recovery checklist up-to-date is a necessary step—that way, you can be sure you are ready when something comes your way. That means having a checklist to help you get started with each and every restoration project, from fire damage to water damage.
We have put together a comprehensive disaster management checklist to help you prepare for any restoration project, from fire emergencies to water damage. Let us go over the essentials of disaster restoration, from preparing for fire emergencies to getting requests from customers so that your disaster restoration service stays prepared for anything that comes it’s way.
Why Is It Important for Disaster Restoration Companies to Have a Checklist?
To avoid being caught off guard in the event of fire damage or disaster, it is essential to have a disaster preparedness checklist for your business. Ensure you have the right equipment and supplies, including a vacuum and protective gear, ready to go. A well-managed inventory and stock control system can ensure your inventory is balanced and prepared for unexpected emergencies.
And you will need a team of experts—disaster cleanup professionals or field service technicians—who can handle various restoration projects. Utilize their skills and knowledge, but be sure to improve their efficiency by giving them the tools they need to perform optimally in an emergency.
Understand that each type of customer has its own specific needs—residential and commercial customers are not the same. Being ready for a property restoration is a big responsibility; make sure you put in the effort necessary to ensure that all the pieces are already in place when you get a call.
Making sure you have a detailed disaster restoration checklist available to your staff and service technicians is a great start. But don’t stop there. Conduct periodic training sessions and frequent practical workshops to ensure every employee is prepared to respond when disaster strikes.
But it is not just disasters that you need checklists for. It is essential to have a checklist close at hand for handling any customer request for assistance. A customer request checklist helps make sure you obtain all the necessary information when a customer calls in—allowing you to get recovery projects started quickly and efficiently.
The Only Disaster Recovery Checklist You’ll Ever Need
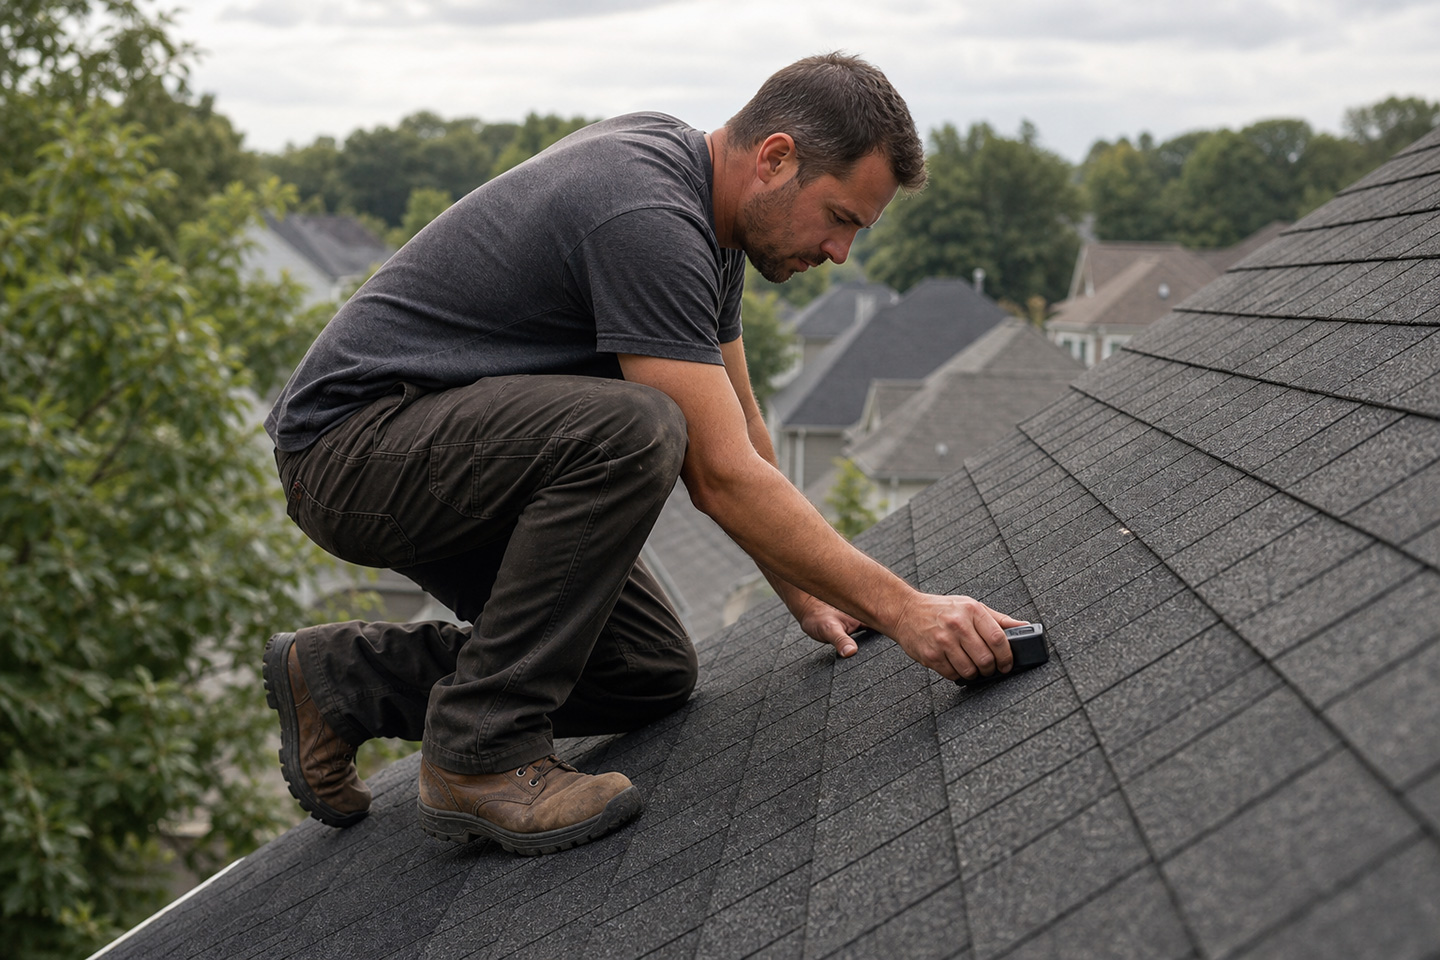
1. Inspect the Damage
Inspect and assess your customer’s property in each area of the structure to determine the degree of fire damage. Technicians should also look at structural features such as foundations, framing, roofs, walls, and windows and check for superficial damage, such as discolored areas caused by smoke and soot.
When conducting a fire damage inspection, roof, plumbing systems, heating systems, and structural components should all be looked at and assessed. Keeping a checklist on their mobile app will provide a technician easy access at a moment’s notice.
Document everything with pictures, videos, and notes; these will help customers submit an insurance claim. Assess the damaged property thoroughly and generate a report on it. This will create a more precise understanding of the scope of a restoration project and help roofers and insurance adjusters to move forward.
2. Calculate the Restoration Timeline
“When will everything be back to normal?” This is the question your customer first asks. When assessing the damage to a property, be mindful of factors influencing the timeline for restoration, the extent of the damage done, and the building’s current structural condition can weigh heavily in this regard. It also depends upon the experience level of the team members involved and who is available to complete the work.
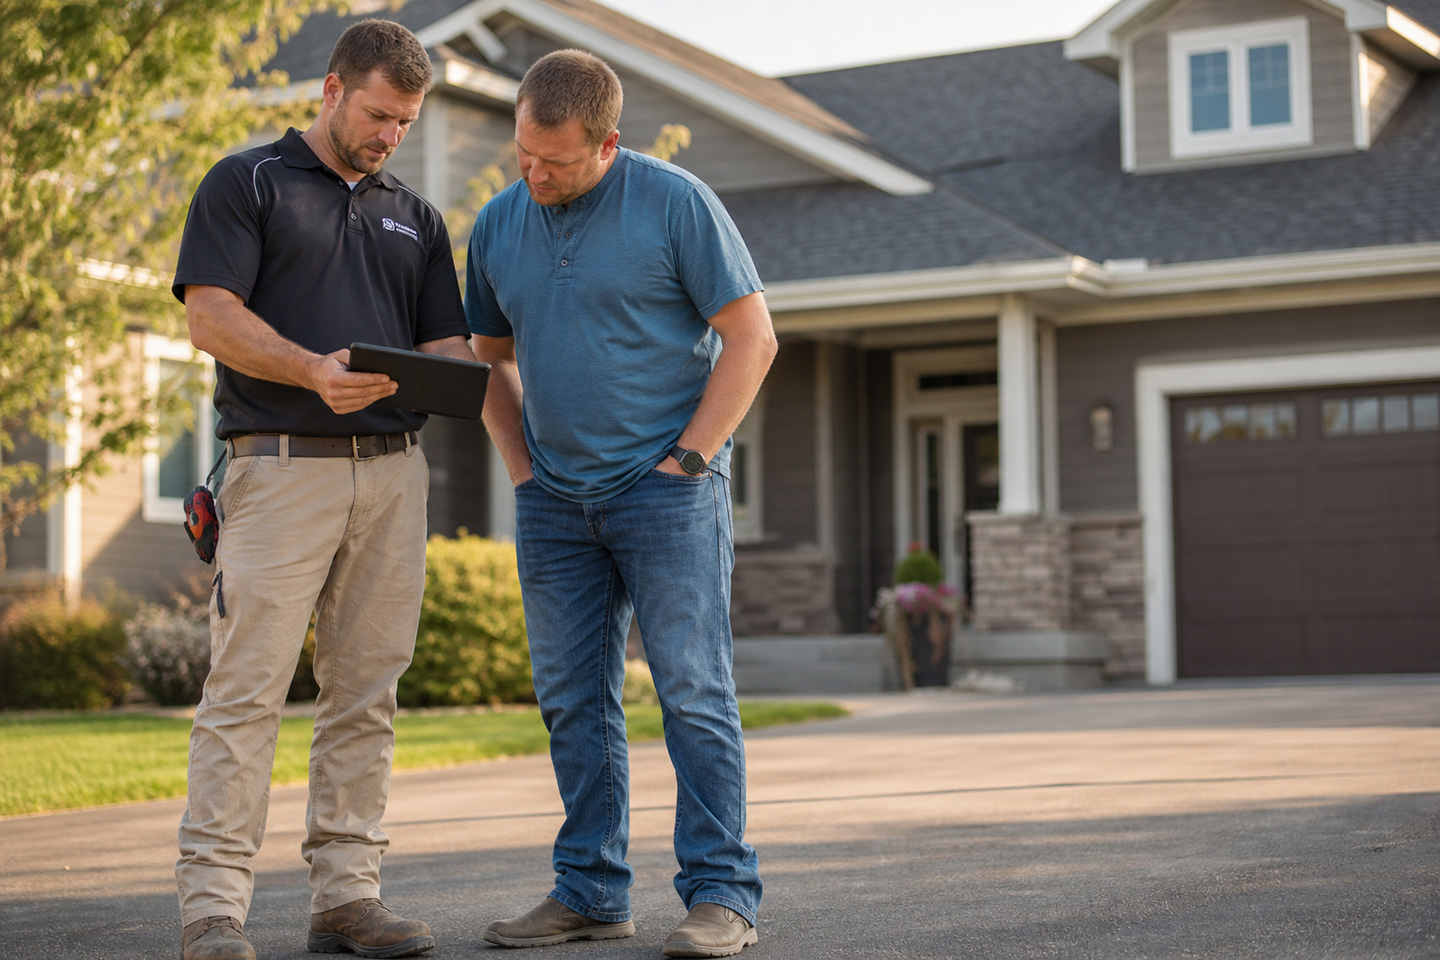
3. Draft a Bid for the Insurance Provider
Work with insurance providers and conduct inspections with them. Insurance providers need an unbiased professional claim report. Developing a damaged property report, your customer can use on their insurance claim is an important step in your process.
A damaged property report should include details of the damaged property, line items for materials to be used, the labor involved, tools and equipment, and each item’s associated cost. If there are any specials or discounts that are being offered, these should be listed as well. Insurance providers will scrutinize these reports closely, so be sure to present a realistic picture in your proposal.
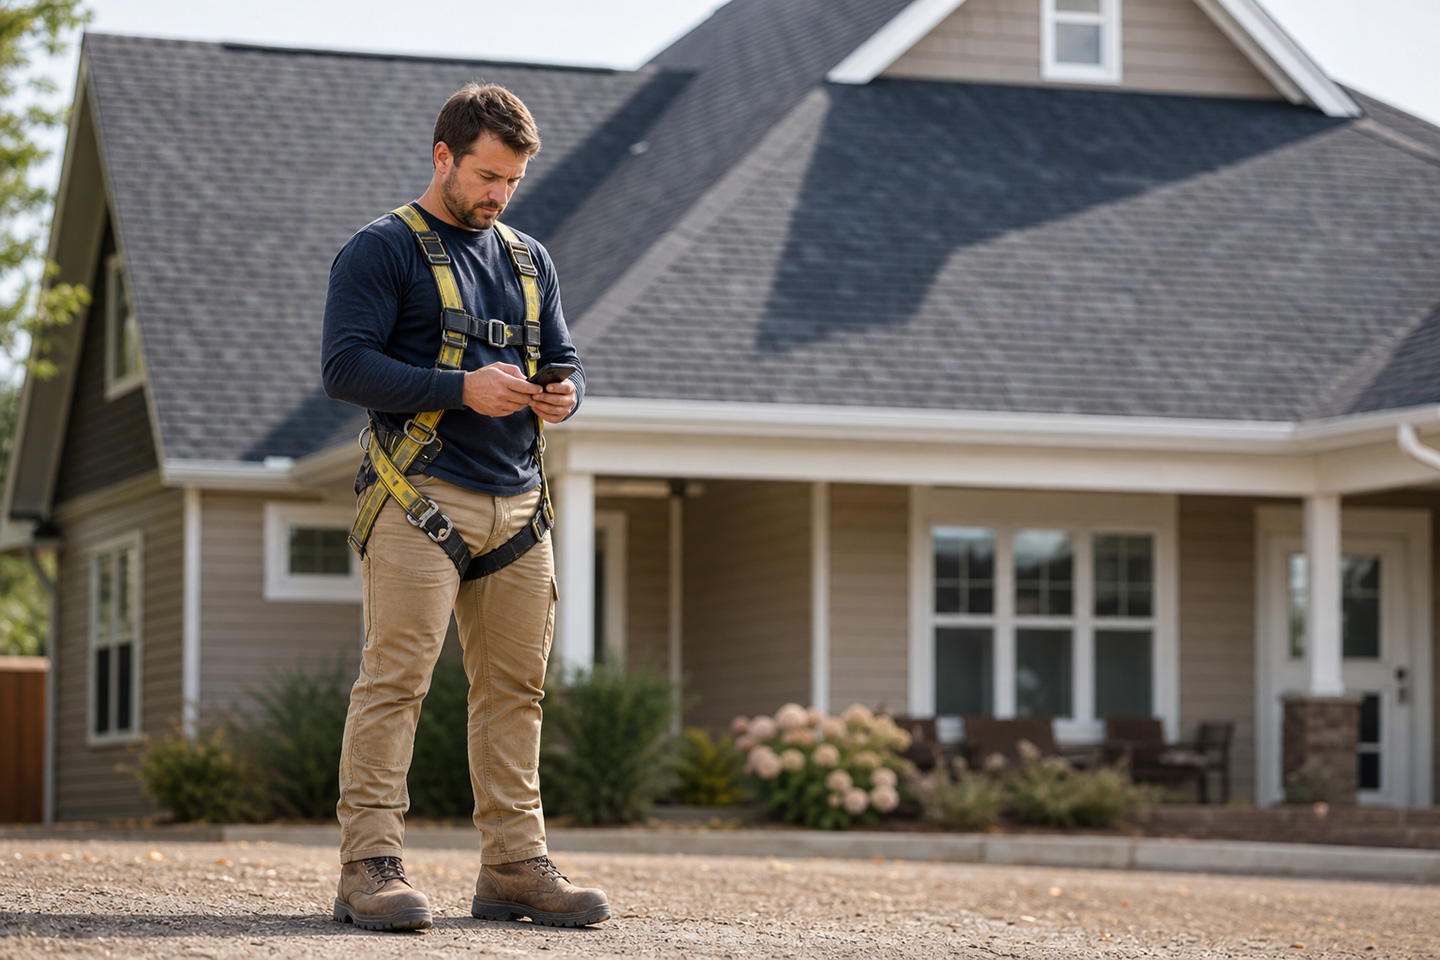
4. Get Your Disaster Restoration Plan Approved
Ensure that your customers approve your disaster restoration plan before you proceed to implement the remediation measures. Then you’ll be better prepared to meet the customer’s expectations.
Meeting the necessary regulatory standards is important for any restoration plan. Make sure to submit any proposals for approval before getting started. Once it is approved, your team can begin implementing the plan.
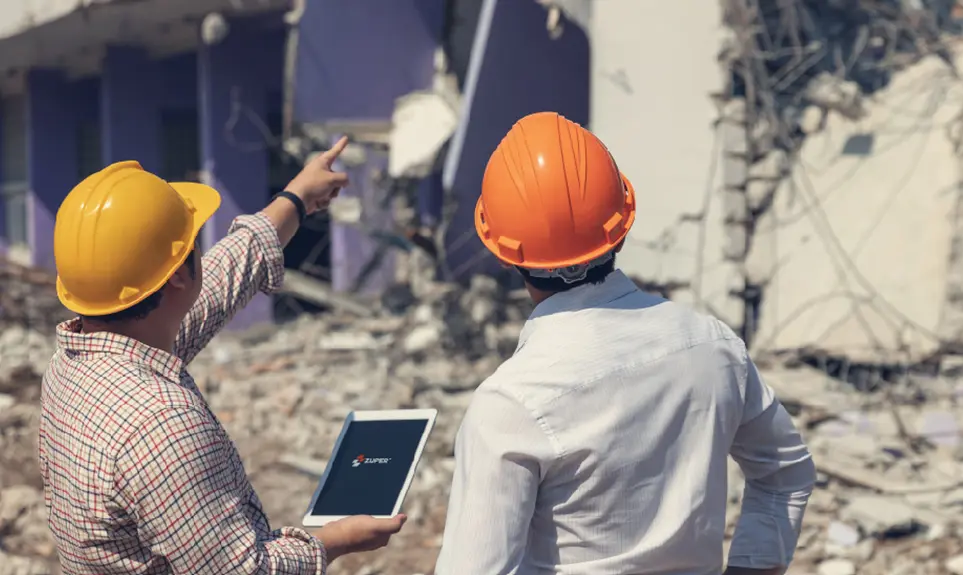
5. Start Implementing Remediation Measures
Once you have identified the damage, it’s essential to start implementing remediation measures. That might mean putting up boards over broken windows, tarping damaged roofs, or pumping water from flooded buildings.
At this stage, your service team is involved in a variety of activities, including securing the house, fencing repair, property removal, debris removal, and pumping out standing water. Additionally, mold, mildew, moisture, and soot must be prevented from spreading to areas of the house that were not damaged by fire.
Unfortunately, many things can not be saved. Technicians will have to tear out any drywall, flooring, roofing, and other materials that are not salvageable.
6. Perform Repairs and Reconstructions
At this stage, you must take care of any repairs or new construction needed to ensure the property’s structural integrity. This includes, but is not limited to, rebuilding the attic, replacing damaged trusses and floor joists, and making sure that the interior framework is secure. Once structural integrity has been restored, repairing the electrical system should be the next priority. Do not skip this step. Even if the electrical system sustained no obvious fire damage, it still needs to be inspected by a licensed electrician.
Don’t make assumptions based on a cursory examination. Having a licensed electrician look at the system is very important. The breaker box, wiring, outlets, and fixtures all need to be verified and replaced if any damage is found. Once the safety of the system has been verified, specialized cleanup work can begin to remediate fire and smoke damage.
Mold growth, soot residue, and contaminated air ducts are all problems that should be addressed. When planning your repair and reconstruction create a checklist for each process to keep things on track. Schedule a task for each process and assign a technician as appropriate. Be sure that a realistic timeline is in place so that assigned technicians can perform their jobs efficiently, but without being rushed. By having provided a checklist and the right tools for the job, you will have set your technicians up for success in completing their work in a timely manner.
7. Get the Work Reviewed and Create an Invoice
After repairs and reconstruction have been completed, have the appropriate stakeholders review the work, and if it fails to meet expectations, perform any additional work necessary. This ensures that the work has been completed correctly before taking it to the customer for approval. When taking it to the customer for approval, discuss with them if anything additional needs to be done. If they sign off on the job, awesome! Send an invoice to the customer.
When creating an invoice, be sure to include the materials used, services rendered, and the type of damage that was repaired. Using an automated invoicing system can simplify this process by allowing data from your project management solution to be imported quickly and easily. Once generated, the invoice can be shared via email or SMS, and the customer can pay digitally.
8. Make Suggestions to Limit Future Damage
As a professional you are in a position to make suggestions that can help limit damage in the case of a future incident. These suggestions should be particular to the property. For some sites it might make sense to suggest installing water leak detectors to protect against water damage, or maybe additional fire alarms would be more appropriate.
9. Handover to the Customer
You have completed the disaster restoration project, and now it’s time to hand over the reins to the customer. Make sure you walk them through everything that’s been done and answer any questions they might have.
Conclusion
Fire damage can happen at any time, anywhere. But being prepared for it can make a world of difference in how quickly you can respond. Keeping your checklists updated and on hand for when disaster strikes is a critical part of being able to respond efficiently and professionally. If there is anything we missed, feel free to say it in the comment section. Interested in disaster restoration services? Keep an eye on our blog to stay up-to-date on industry trends!