
Going into a complex roofing project without a solid plan is like running a marathon without training. You might get to the finish line, but it’s going to hurt. Steep pitches, multiple gables, dormers, valleys, and tricky roof-wall junctions can turn even the most straightforward jobs into a complicated puzzle.
That’s why having a roof measurement checklist is essential not just for accuracy, but for profitability. Collecting the right data points upfront ensures your material orders are precise (no costly overages or shortages), labor is planned correctly (no “oops, we need more people for this”), and timelines are realistic and achievable.
In short, if you measure it right, you plan and build it right.
Why Accurate Roof Measurements Matter
Every roofing job starts with a number, but the right number makes all the difference. Accurate measurements mean you order exactly what’s needed, bid competitively, and avoid unpleasant surprises during installation.
For complex roofs, even a single missed detail—a short valley, a forgotten dormer—can:
- Throw off your material budget by hundreds of dollars.
- Delay your project waiting for missing supplies.
- Damage customer trust if your estimate jumps mid-project.
Industry data shows that measurement errors alone can increase project costs by 7–15%. When bids are tight and schedules are tighter, nailing your measurements isn’t just best practice, it’s a competitive advantage.
12 Essential Data Points in a Roof Measurement Checklist
Below are the 12 must-have measurements that should appear in every complex roof estimate. Whether you’re a contractor training a new crew or a homeowner reviewing a bid, these are the details that keep projects on track.
-
Roof Total Area (Square Footage)
What to measure
Measure the surface area of every roof plane. For simple sections, multiply length x width. For irregular shapes, break them into rectangles or triangles, measure each, and sum the totals. Adjust for slope using a pitch multiplier if working from flat drawings or aerial views.
Why it matters
This number drives your shingle, underlayment, and decking orders. If it’s wrong, every other material calculation will be wrong.
In simple terms
It’s like ordering flooring—you wouldn’t guess the square footage of your living room and hope the carpet fits.
Pro tip
Cross-check your manual measurement with an aerial roof report.
-
Roof Pitch (Slope) of Each Section
What to measure
Record the rise-over-run for each significant section (e.g., 6:12). Complex roofs can have multiple pitches—measure them all. Why it matters
Pitch changes the actual surface area and impacts labor safety. Steeper sections require more shingles than flat math suggests and take longer to work on.
In simple terms
The steeper the roof, the more material and effort it takes to cover it safely. A flat or low slope is faster and easier to work on, while a steep slope means extra time, caution, and cost.
Pro tip
Use a digital pitch gauge or app. Record pitch alongside area to apply correct multipliers. -
Number of Roof Facets/Sections
What to measure
Count each individual plane—main slopes, gables, dormers, porch covers.
Why it matters
More facets mean more cuts, waste, and time. This directly impacts waste factor percentages and labor cost.
In simple terms
It’s faster to wrap one big present than ten small ones. Roofs work the same way.
Pro tip
Sketch and number each facet so installers and estimators are speaking the same language.
-
Ridge Length (Roof Peaks)
What to measure
Total the horizontal length of all ridges—top edges where two planes meet.
Why it matters
Determines ridge cap and ridge vent quantities, plus installation time.
In simple terms
It’s the roof’s spine—leave it exposed, and the whole system is compromised.
Pro tip
If using continuous ridge venting, order slightly extra to allow for overlaps.
-
Hip Length
What to measure
The inclined lines where two planes meet at an outward angle.
Why it matters
Requires specialized caps and careful cutting. Adds to material needs and labor hours.
In simple terms
Think of it as the corner seams on a jacket—small but essential to keep water out.
Pro tip
Combine hip and ridge totals if your cap material serves both, but track separately for clarity.
-
Valley Length
What to measure
All internal V-shaped lines where two slopes meet.
Why it matters
Valleys are leak-prone and require extra flashing, underlayment, and labor precision.
In simple terms
They’re the roof’s drainage channels—if they fail, water has a direct path inside.
Pro tip
Increase your waste factor; valley shingle cuts generate extra offcuts.
-
Eaves Length (Horizontal Edges)
What to measure
Lower edges where the roof meets the wall, including overhangs.
Why it matters
Used to calculate drip edge, gutters, and starter strip material needs.
In simple terms
Eaves are the roof’s front line against water—finish them right or face rot later.
Pro tip
Separate guttered vs. non-guttered runs for accurate ordering.
-
Rake Length (Sloping Gable Ends)
What to measure
From eave to ridge along the sloped edge of gables.
Why it matters
Determines rake edge flashing, fascia, and trim material needs.
In simple terms
They’re the roof’s slanted edges—finish them for both strength and style.
Pro tip
Add eave and rake totals for a complete drip edge material count.
-
Flashing Length at Roof-Wall Junctions
What to measure
Linear footage where roof meets a vertical wall—dormers, chimneys, sidewalls.
Why it matters
These are leak hot spots. Step flashing or counterflashing is non-negotiable.
In simple terms
Water always looks for the easiest path—flashing blocks it.
Pro tip
Log each junction separately to avoid under-ordering flashing.
-
Count of Penetrations (Vents, Chimneys, Skylights)
What to measure
Number and type of every roof penetration. Measure larger ones.
Why it matters
Each requires sealing, flashing, and time. Omitting them leads to missing materials.
In simple terms
Every hole in the roof is an invitation for leaks unless sealed right.
Pro tip
Photo-map penetrations for crew reference.
-
Building Height and Accessibility
What to measure
Eave height, number of stories, and site obstacles.
Why it matters
Impacts safety equipment needs, crew speed, and project cost.
In simple terms
A tall, tricky-to-reach roof will always take longer.
Pro tip
Factor in lift or scaffolding rental into your bid when access is challenging.
-
Existing Roof Layers or Tear-off Needs
What to check
Number of existing layers and condition of underlying decking.
Why it matters
Extra layers mean more labor, higher disposal costs, and possible deck repairs.
In simple terms
Two roofs to remove means twice the dumpster space and crew time.
Pro tip
Lift shingles in multiple areas to check for hidden layers.
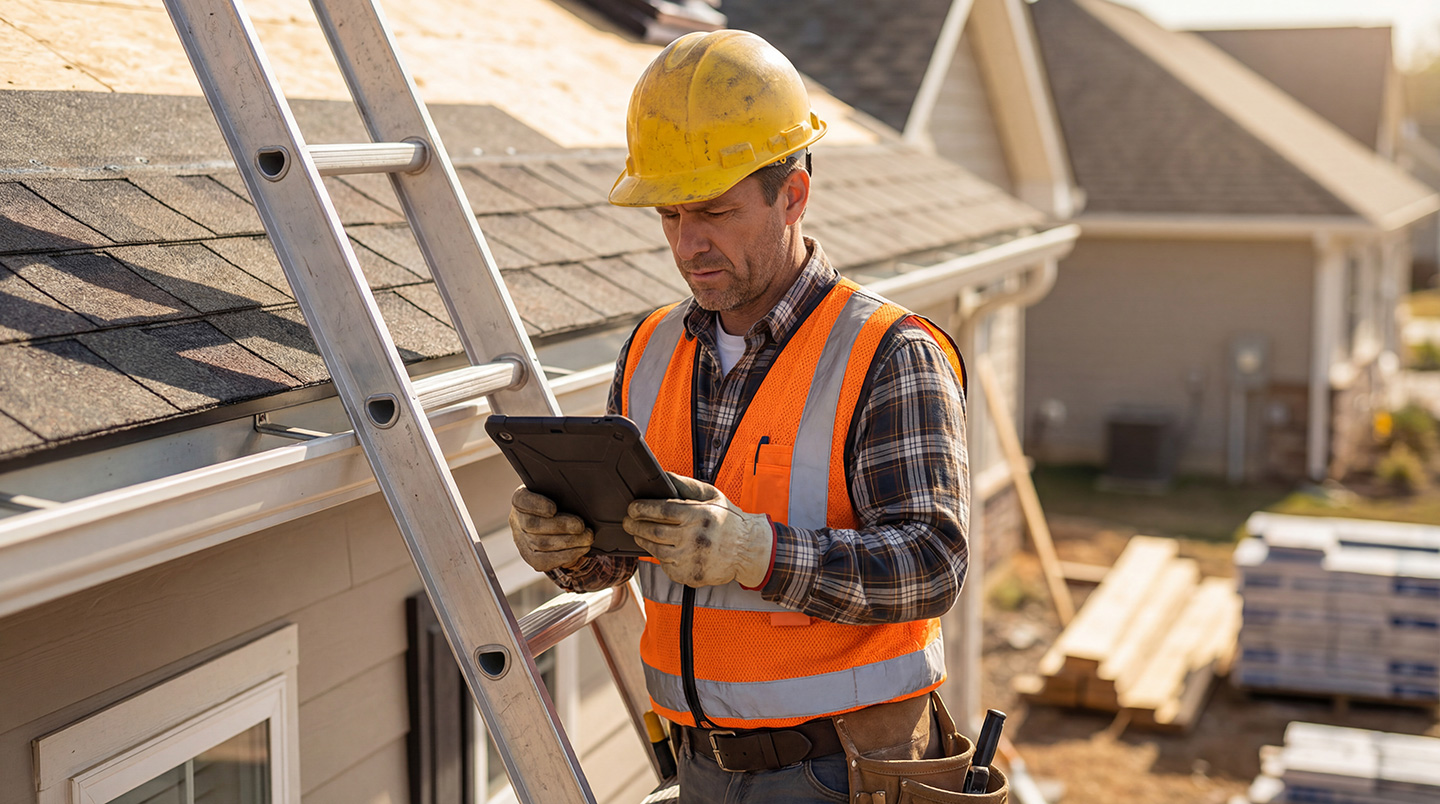
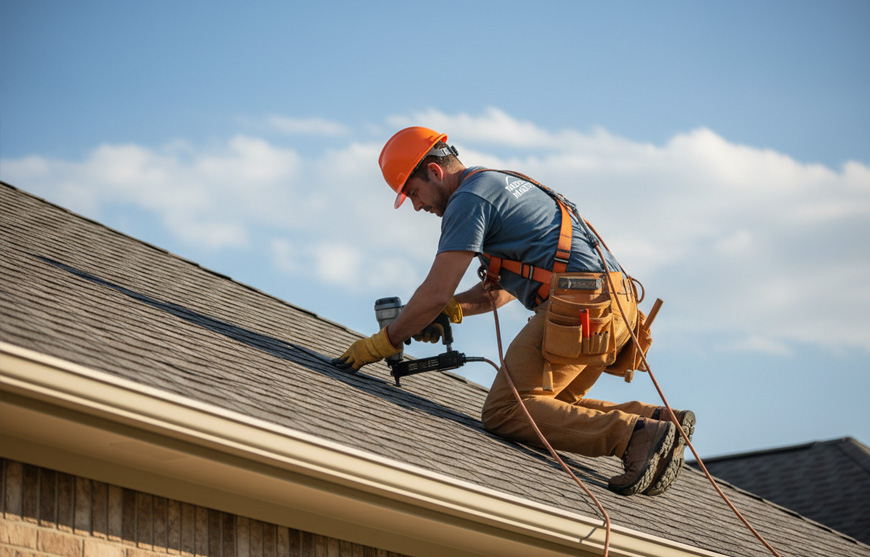
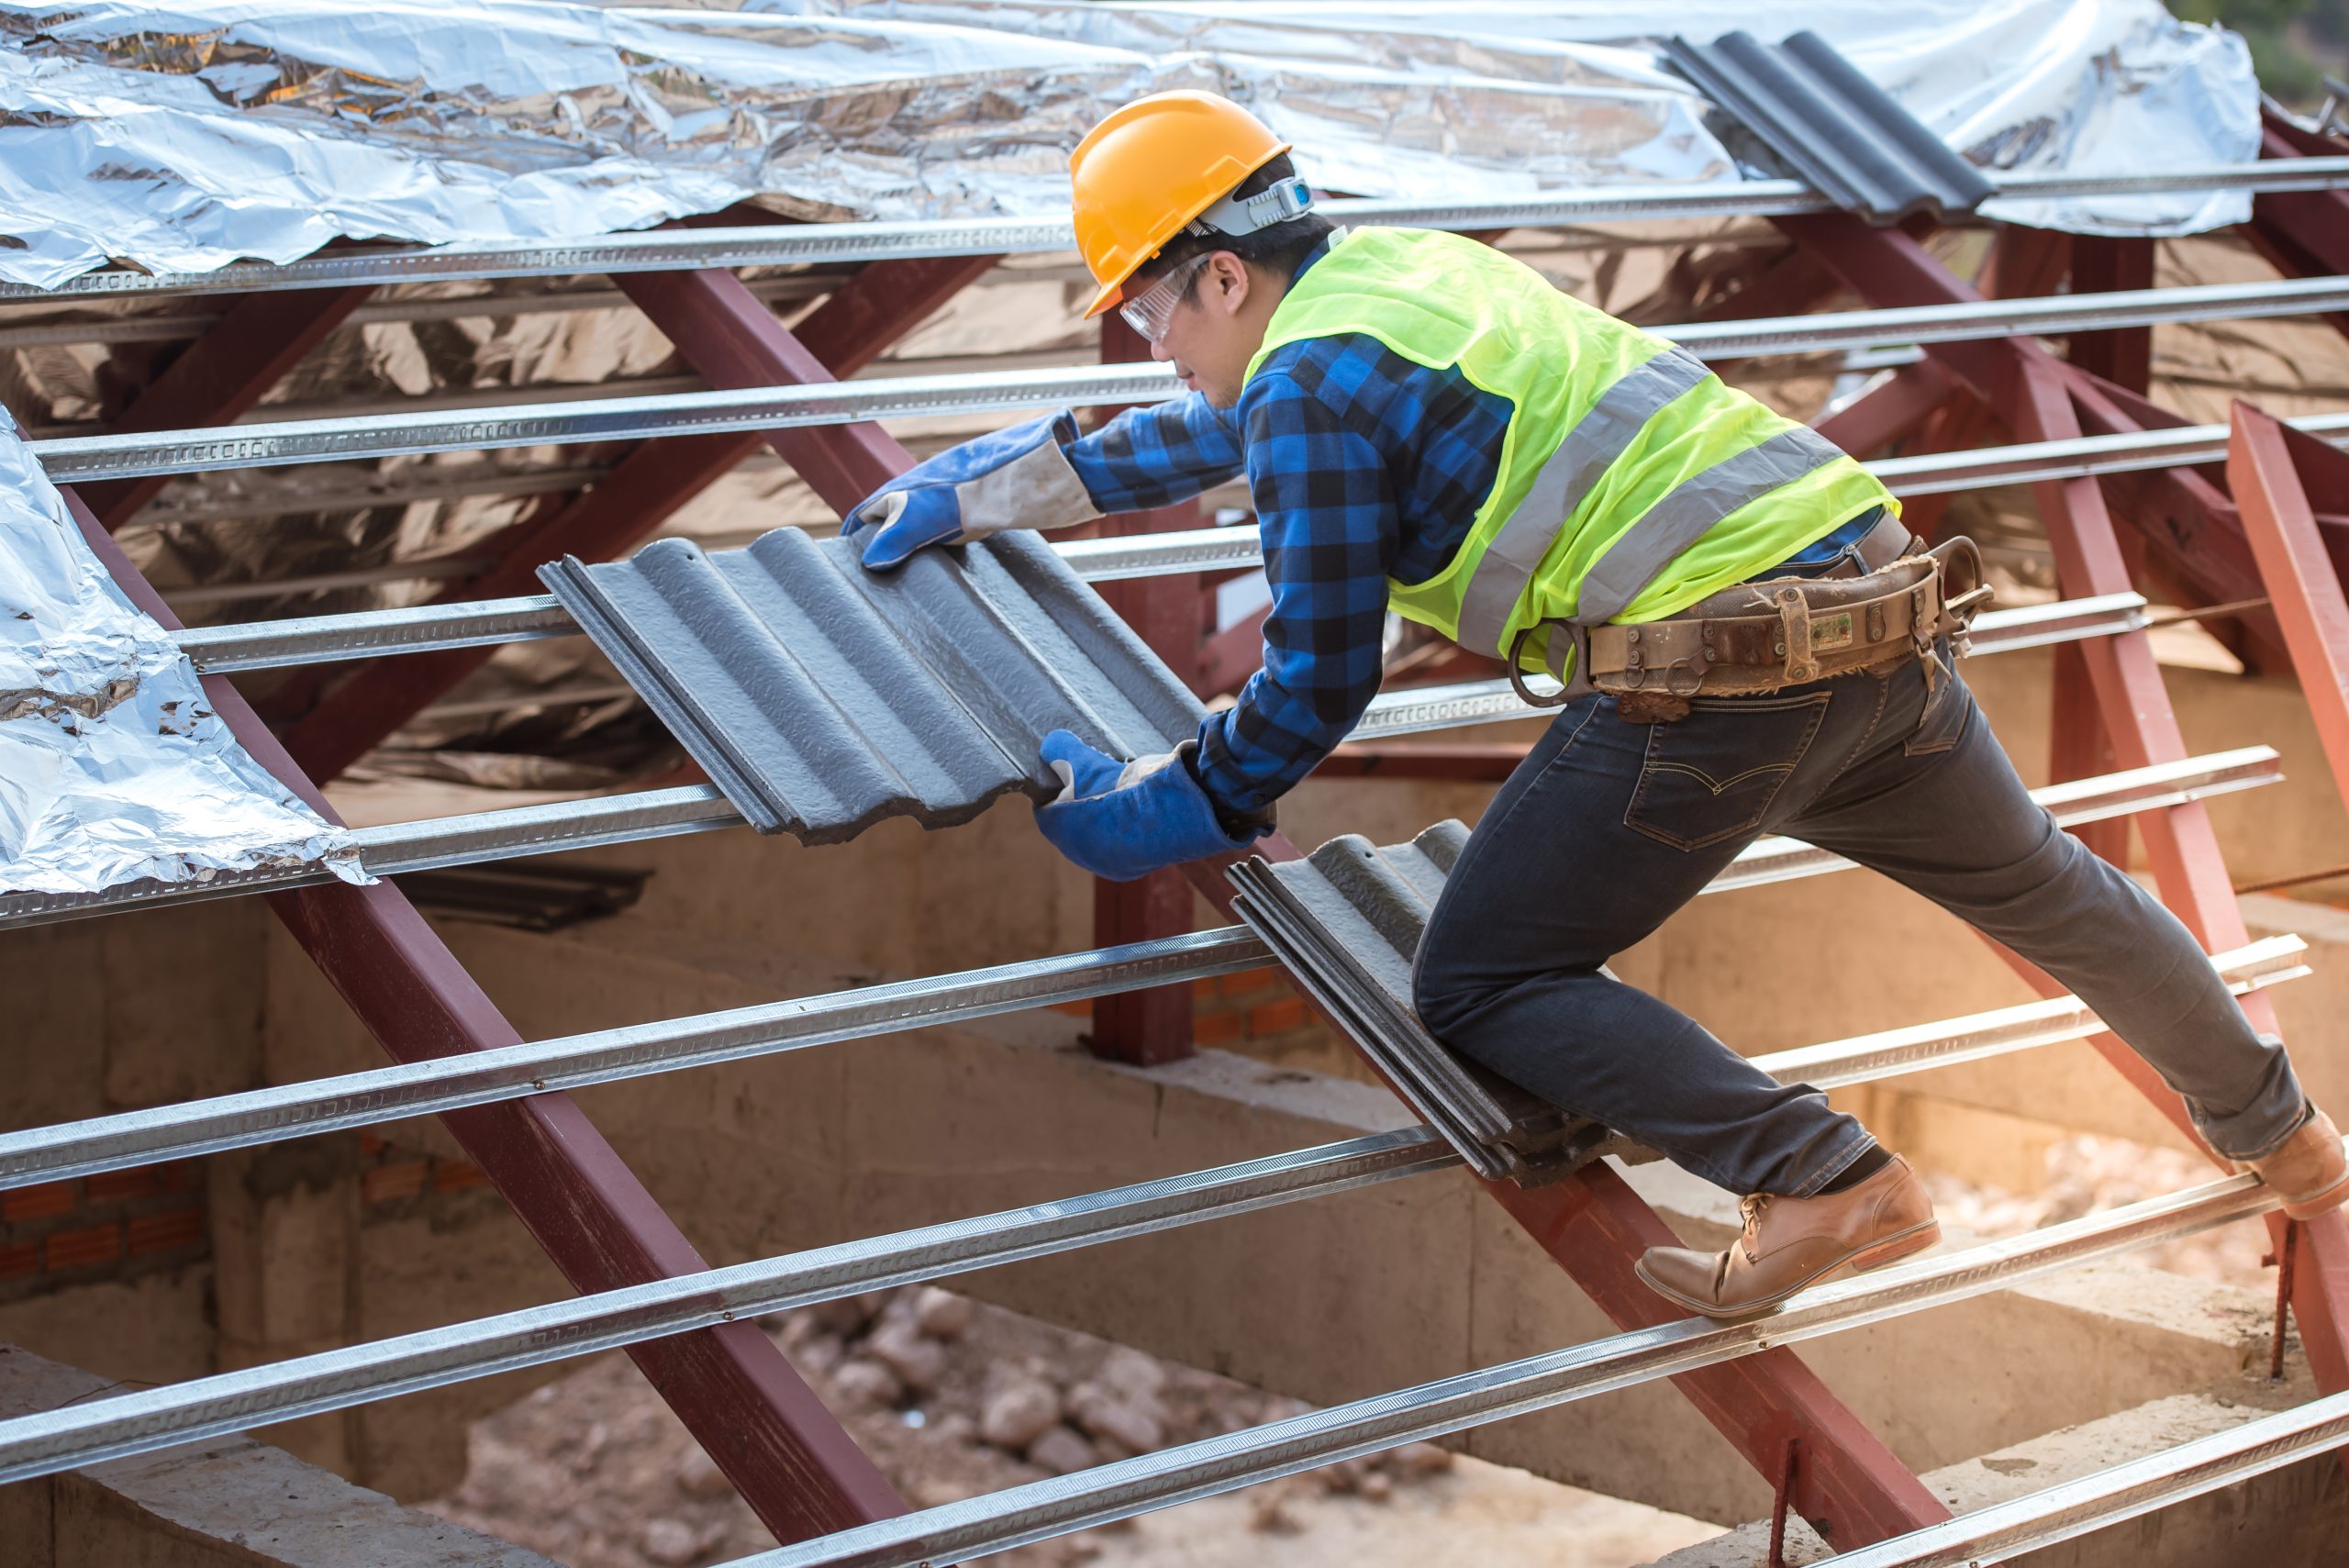
Tips for Measuring Complex Roofs Safely and Accurately
Prioritize safety
Harnesses, non-slip footwear, and a partner are must-haves for on-roof work.
Use the right tools
Tape measure, laser distance meter, pitch gauge, chalk line, and sketch pad.
Sketch as you go
Mark every measurement and feature on a diagram to avoid missed sections.
Double-check critical numbers
Especially total area, ridge, and valley lengths.
Leverage tech
Drone imaging or aerial reports can capture data safely and verify manual measurements.
Conclusion
Roof measurement isn’t just paperwork—it’s your safeguard against missed details, blown budgets, and delayed projects. Complex roofs reward meticulous planning, and these 12 data points give you a clear, repeatable process to measure like a pro.
Whether you’re bidding on your first complex project or your hundredth, make this checklist your standard. The result? Accurate estimates, smooth installations, and happy clients.